










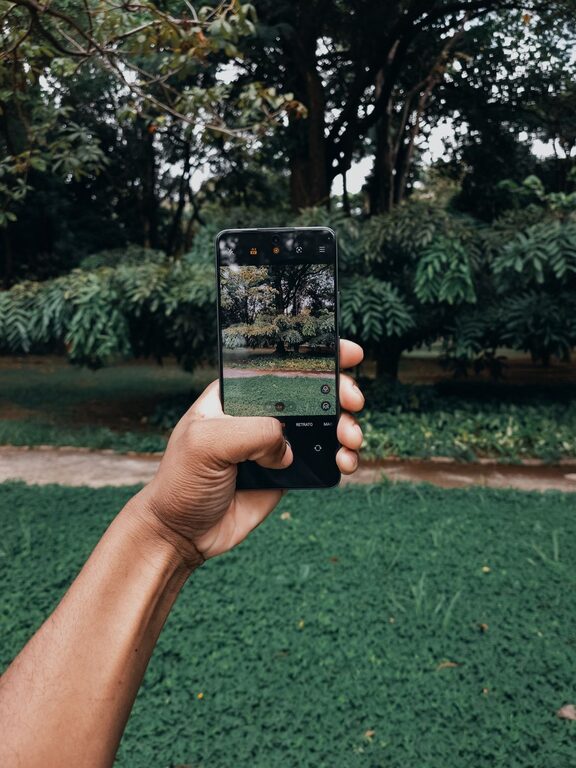
Taking great photos with your phone is easier than you might think. Whether you’re capturing moments with family, shooting landscapes on vacation, or sharing images on social media, a few simple techniques can dramatically improve the quality of your photos. This guide offers beginner-friendly tips to help you get the most out of your smartphone camera and take better phone photos every time.
Understand Your Phone Camera
Before diving into photography techniques, spend some time exploring your phone’s camera features. Modern smartphones offer various modes and settings designed to enhance your shots.
– Familiarize yourself with camera modes: Common modes include portrait, night, panorama, and video. Knowing when and how to use these helps create varied and interesting photos.
– Explore manual settings: Some phones allow adjustment of focus, exposure, and white balance. Experiment with these to see how they affect your photos.
– Clean your lens: A smudged lens can make photos blurry or hazy, so wipe your camera lens regularly with a microfiber cloth.
Pay Attention to Lighting
Lighting is one of the most important factors in photography. Good lighting can elevate even a simple subject.
– Use natural light: Whenever possible, use sunlight or soft daylight for your photos. Morning and late afternoon—known as the golden hours—provide warm, flattering light.
– Avoid harsh midday sun: Direct overhead sunlight can create unflattering shadows and highlights. If shooting during midday, look for shaded areas or use your hand or an object to block strong light.
– Try backlighting creatively: Positioning your subject between the camera and the light source can create silhouettes or add a glowing effect.
– Use the flash sparingly: Phone flash can produce harsh, unnatural light. Try to rely on ambient light first and only use flash when necessary.
Master Composition Basics
How you frame your photo matters just as much as what you’re capturing.
– Apply the Rule of Thirds: Imagine your photo divided into a grid of nine equal parts. Placing key elements along these lines or their intersections creates balanced and engaging photos. Many phones have a built-in grid option to help.
– Fill the frame: Get closer to your subject or zoom in (digitally or optically) to focus attention and reduce distracting backgrounds.
– Look for leading lines: Roads, fences, or architectural features can guide the viewer’s eye through the photo.
– Use framing: Natural frames like doorways or tree branches can add depth and interest.
– Keep horizons straight: A tilted horizon can distract the viewer; use the phone’s level tool or grid to align properly.
Focus and Exposure
Sharp focus and proper exposure are key to clear, vibrant images.
– Tap to focus: Most smartphone cameras allow you to tap on the screen where you want to focus. This ensures your subject is sharp.
– Adjust exposure manually: After tapping to focus, some phones let you swipe up or down to brighten or darken the photo. Use this to avoid overexposed highlights or underexposed shadows.
– Lock focus and exposure: For consistent shots, especially of moving subjects, use the AE/AF lock feature if available.
Steady Your Shot
Blurry photos often result from shaky hands or slow shutter speeds in low light.
– Hold your phone with both hands: This provides better stability.
– Use props: Lean against a wall or rest your phone on a steady surface.
– Enable image stabilization: Most newer phones have this feature built-in.
– Try burst mode: For action shots, holding the shutter button usually captures multiple frames so you can pick the best one.
Edit Your Photos
Editing can enhance your pictures without requiring professional software.
– Use built-in photo editors: Most smartphones come with simple editing tools for cropping, adjusting brightness, contrast, and saturation.
– Try free apps: Applications like Snapseed, VSCO, or Lightroom Mobile offer easy-to-use editing features.
– Avoid over-editing: Aim for natural-looking enhancements rather than heavy filters.
– Crop for better composition: Sometimes trimming the edges can improve focus on your subject.
Practice and Experiment
The best way to improve your phone photography is to practice regularly.
– Take photos in different conditions: Try shooting indoors, outdoors, at various times of day, and with different subjects.
– Experiment with angles: Don’t just shoot at eye level—try low angles, above, or creative perspectives.
– Review and learn: Look back at your photos to understand what worked and what didn’t.
– Be patient: Great photography takes time and experimentation.
Conclusion
You don’t need a fancy camera to capture beautiful photos. With these beginner tips, your smartphone is a powerful tool for photography. Understanding your camera’s features, paying attention to light and composition, and practicing regularly will help you take better phone photos that you’ll be proud to share. So grab your phone, start shooting, and most importantly—have fun capturing the world around you!