










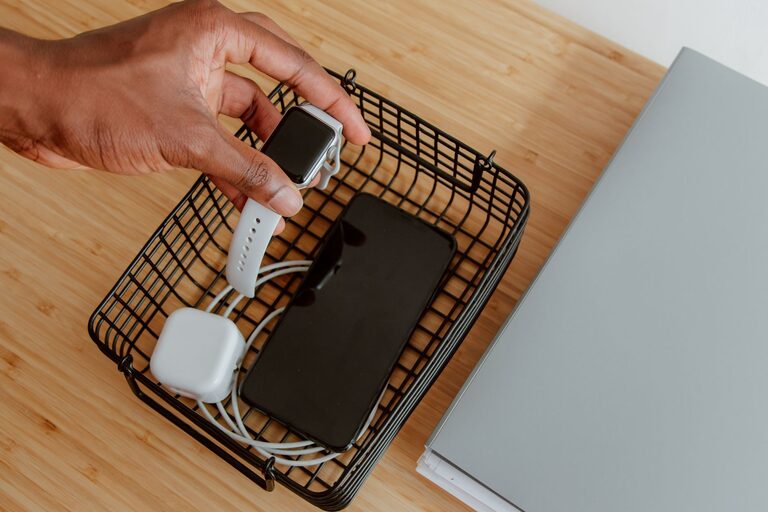
Setting up a dedicated charging station for your devices can simplify your daily routine and keep your living space neat. Whether you have smartphones, tablets, smartwatches, or other rechargeable gadgets, having a centralized spot for charging helps reduce clutter and ensures your devices are ready when you need them.
In this guide, we’ll walk you through everything you need to know to create a functional and stylish charging station at home.
Why Create a Charging Station?
With so many devices requiring power, cords and chargers often end up scattered across tables, counters, or floors. A charging station:
– Organizes your devices in one place
– Minimizes tangled cables and clutter
– Protects devices from damage or loss
– Provides a neat and accessible charging point for the whole family
Now, let’s explore how to set one up.
Step 1: Choose the Location
Start by selecting a convenient spot in your home. Common places include:
– Living room side table
– Kitchen counter
– Home office desk
– Bedroom nightstand
Make sure the location has easy access to power outlets and is a place where devices are frequently used or stored.
Step 2: Decide on the Station Type
There are several options depending on your preferences and budget:
DIY Station
You can make your own charging station using:
– A wooden box or tray
– Desk organizer or drawer
– Cable clips and ties
– Power strip
This option allows customization to fit your space and style.
Ready-Made Charging Stations
Available online or in electronics stores, these often include multiple USB ports, wireless charging pads, and compartments for devices.
Multi-Port Chargers
Devices with several USB ports can simplify the process, allowing multiple devices to charge from one power source.
Step 3: Gather the Necessary Equipment
Collect the following items:
– Power strip with surge protection
– Multi-port USB charger or individual chargers
– Charging cables for each device
– Cable organizers: clips, sleeves, or ties
– Charging dock or stand (optional)
– Labels (optional) for cords and ports
Ensure that chargers are compatible with your devices for safe and efficient charging.
Step 4: Organize Your Cables
Cable management keeps your station tidy and prevents damage:
– Shorten cable lengths using ties or wraps
– Use clips or adhesive mounts to secure cables to surfaces
– Group cables by device or type with labels
– Consider cable sleeves to bundle multiple cords neatly
Keeping cables off the floor also reduces tripping hazards and wear.
Step 5: Set Up Your Charging Station
Follow these tips as you assemble your station:
– Position the power strip near the chosen location, avoiding tight spaces or flammable materials
– Connect your multi-port charger or individual chargers to the power strip
– Arrange devices on chargers or docks, ensuring ventilation to prevent overheating
– Route cables through organizers to keep them accessible but neat
– Test all charging ports to confirm devices charge properly
Step 6: Maintain and Customize
Keep your charging station functional and attractive by:
– Regularly checking cables and chargers for wear and replacing as needed
– Cleaning dust from devices and the station area
– Adding decorative elements like a small tray for keys or earbuds
– Adjusting the setup as new devices are added or removed
Tips for a Safe and Efficient Charging Station
– Avoid overloading power strips; check total wattage limits
– Use surge protectors to safeguard devices from power spikes
– Keep liquids away from electronics to prevent damage
– Unplug chargers when not in use to save energy
– Keep the station out of direct sunlight or heat sources
Conclusion
A well-planned charging station can streamline your device management and keep your space clutter-free. With just a bit of organization and the right equipment, you can create a central hub that makes charging easy and reliable for the entire household.
Try these steps today, and enjoy the convenience of having your devices fully charged and ready whenever you need them!